Microgreens are quick and easy to grow. They can be ready to harvest in as short as two weeks. Microgreens are grown indoors and can grow all year round. Follow our step by step instructions below to ensure success with growing your microgreens.
Planting Microgreen Seeds
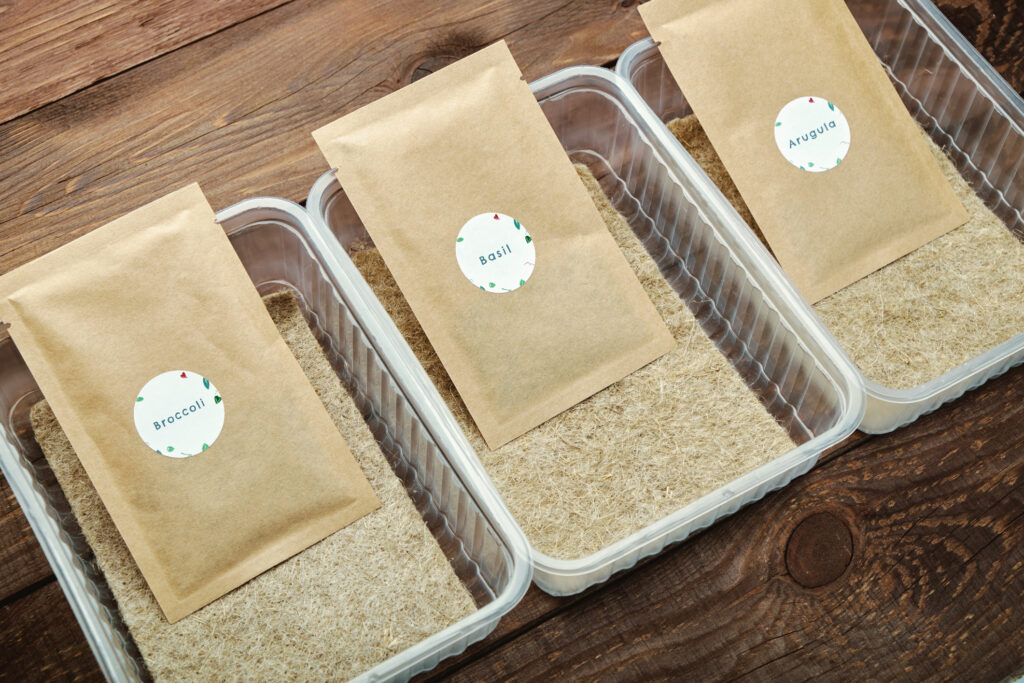
- Start with Terrafibre Grow Mats made from sustainable fiber-byproduct from industrial hemp plants.
- Simply sprinkle seeds onto the mat, press them down, and water in.
- Or you can still fill seed trays with premoistened, standard Seed Starting Mix with a healthy amount of perlite blended for improved drainage and roughage, which helps slough seed coats.
- Most microgreen seeds do not require any pretreatment, however, for larger seed or hard-shelled types, germination can be accelerated if seeds are pre-soaked for 8 to 12 hours. Be sure to rinse seeds well after soaking before sowing.
- Sow seeds onto a growing medium surface, gently pressing seeds down to ensure excellent seed to soil contact. (If covering only use ¼” of medium.)
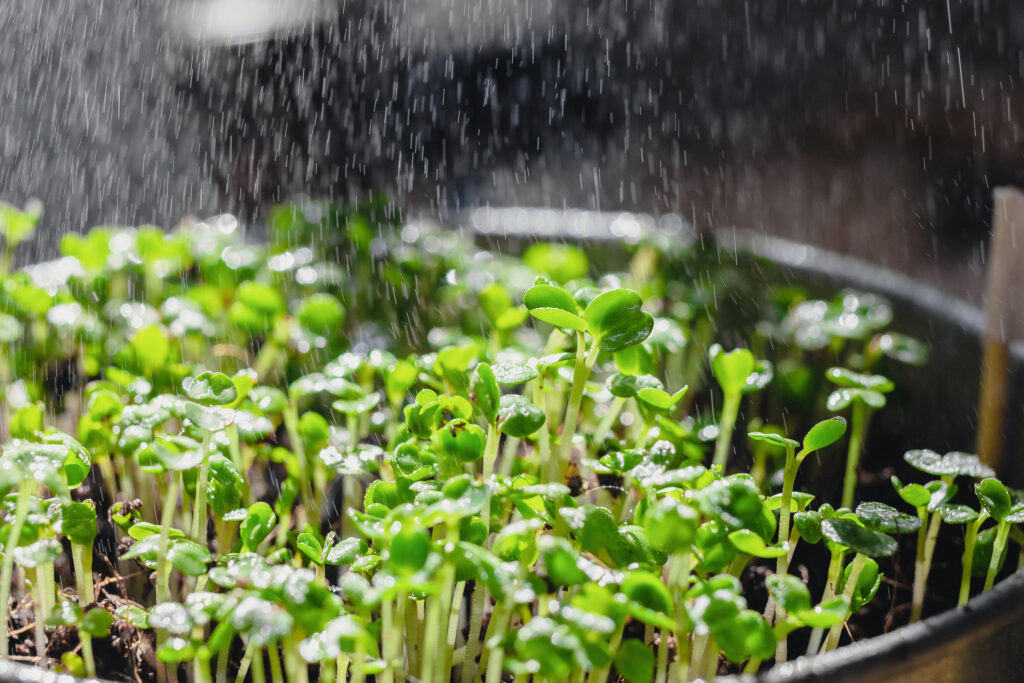
- After sowing, moisten seeds with a mist sprayer as needed or utilize Super-Dome™ Humidity Cover to prevent dehydration.
- Along with adequate soil moisture, to facilitate germination, place trays on a heat mat with temp. range of 70° -75°F.
Caring For Your Microgreens
- As soon as your microgreen seed germinates, remove the dome cover for improved air circulation and to discourage mold growth. As with any type of seeds, move microgreen seed trays into bright light to promote full, straight healthy seedlings. Shoots leaning toward the light or thin spindly growth indicates they need more light.
- Apply water as needed. Enough to promote growth, not too much to cause rot or damping off. The proper amount will vary depending on soil media type and consistency.
- Proper air circulation is also beneficial to avoid rot and excess moisture.
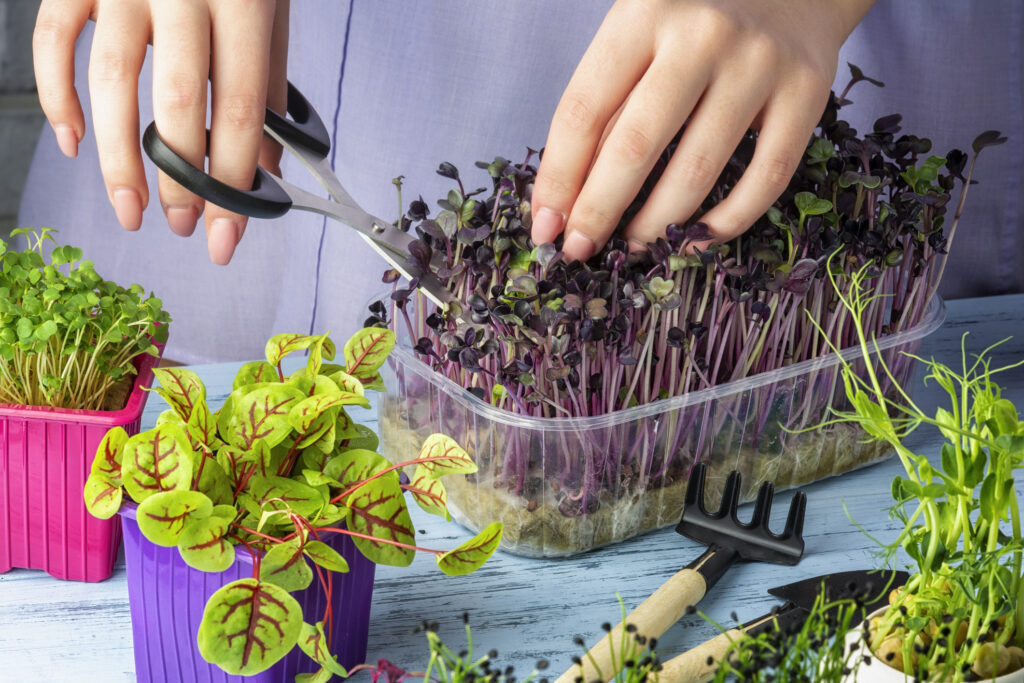
Harvesting Your Microgreens
- Unlike sprouts, microgreens are allowed to grow into their 2nd set of true leaves.
- Depending on the species and growing conditions, microgreens may be ready to harvest as soon as a week or a few weeks from germination.
- When ready, trim most of the tops off the greens with sharp kitchen shears or a pair of scissors, to leave a bit of stem and root which allows them to re-grow to harvest again.
- Harvest only what you will consume right away. After harvesting, microgreens can be stored in zip-lock type bags in the refrigerator a few hours prior to use, but either way washing your greens with cold, clean fresh water should always be done prior to serving. Most microgreens are at peak flavor and consistency immediately after harvest.
- Most varieties of microgreens can be harvested several times. Once they are spent, the growing media can be composted, and you should wash and sterilize trays or containers prior to reuse. Several trays can be successively planted to ensure a constant supply of your own fresh microgreens.
6 Popular Microgreen Varieties
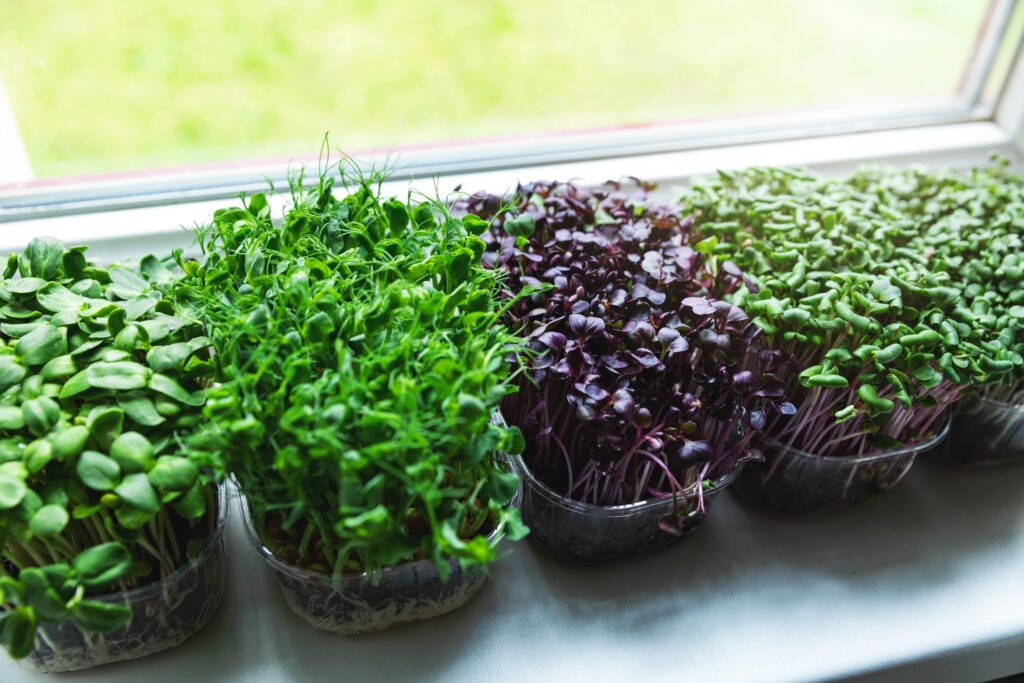
Growing varieties together in the same tray is possible, but choose types with similar growth rates.
| Microgreen | Growth Rates | Planting Instructions |
| Arugula | 10 to 15 days | ½ to 1 oz. seed per 11” x 21¼” tray |
| Broccoli | 10 to 15 days | ½ to 1 oz. seed per 11” x 21¼” tray |
| Radish – Daikon | 10 to 15 days | 1 oz. seed per 11” x 21¼” tray |
| Basil | 16 to 25 days | ¼ to ½ oz. seed per 11” x 21¼” tray |
| Cilantro | 16 to 25 days | 1 to 2 oz. seed per 11” x 21¼” tray |
| Dill | 16 to 25 days | 1 to 2 oz. seed per 11” x 21¼” tray |

Microgreens are fun and easy to grow for the whole family. They are packed with nutrients like vitamin C, E, and K. They offer a fresh, burst of flavor to salads, sandwiches, and even cooked dishes. Give growing microgreens a try today!
