It’s no secret that gardeners love plants, but there’s something else we love. More plants! The good news is many of our garden favorites can be propagated to fill in other areas of the garden or share with friends. Let’s explore some popular methods to propagate shrubs and herbaceous perennials.
Types Of Propagation
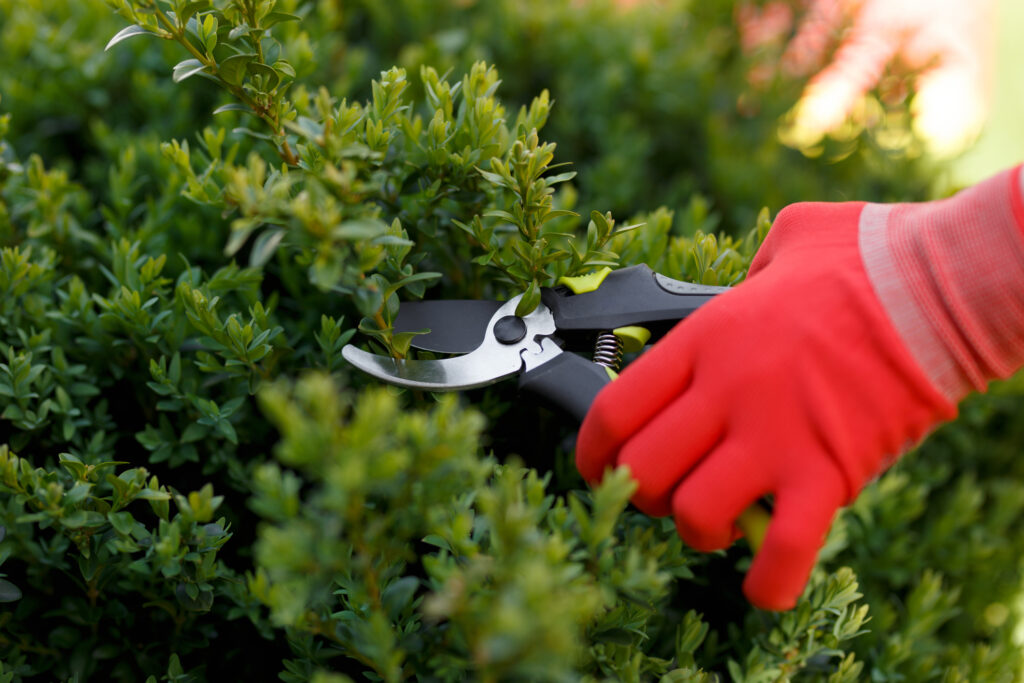
Cuttings
This type of propagation is great for woody plants, including shrubs. A cutting is a piece of a branch (often the tip) that is removed from the main plant and placed in soil to grow roots and form a new plant. One advantage of cuttings is that you can take them at different times of the year.
Softwood
Softwood cuttings are taken in early summer (June-July) from deciduous shrubs. Some examples are lilacs, forsythia, and ninebark. At this point, the new growth has matured slightly but hasn’t become woody yet (the new growth should break when bent sharply).
Semi-Hardwood
These cuttings are most effective for broadleaf evergreens, like boxwood and rhododendron. From a timing standpoint, late summer is best since the new growth is starting to become woody and will root better.
Hardwood
This method works for a range of deciduous and evergreen shrubs. However, some shrubs have better success from softwood or semi-hardwood cuttings. Because of this, you’ll want to research propagation tips for the specific plants you wish to propagate. Hardwood cuttings are taken when the plants are going dormant in late fall-early winter (after a hard freeze).
Tips For Growing Cuttings
When you grow cuttings, the exact steps will vary based on the plant species. But these general tips can help you get started.
- Take cuttings from healthy growth on the upper areas of the plant.
- The ideal cutting length will vary. 4-6″ is a good length for softwood and semi-hardwood cuttings. Hardwood cuttings are often 8-10″ long, with a stem diameter between ¼”and 1″.
- Take cuttings (softwood and semi-hardwood) in the morning or evening when temperatures are cooler.
- Use a sharp knife to make a slanted cut below a leaf node (where the leaf meets the stem).
- Any leaves should be removed from the lower half of the cutting (this reduces moisture loss). Next, place the cuttings in a plastic bag.
- Cuttings should be planted in a propagation or seed starting mix. This should be done shortly after removing the cutting from the main plant.
- After the cuttings are planted, give them a thorough soaking to help the mix settle around the base of each plant.
- Place a plastic bag over the plant to increase the humidity. Since the plants have no roots, they need the extra humidity to prevent the leaves from drying out. If you have a large number of cuttings, consider using a cold frame or small greenhouse. Note: Plastics enclosures should not be placed in full sun.
- The mix should be kept moist at all times, but not wet.
In many cases, it’ll take up to two growing seasons before the cuttings can be planted in the landscape. That timeframe seems long, but a mature shrub can produce dozens of cuttings.
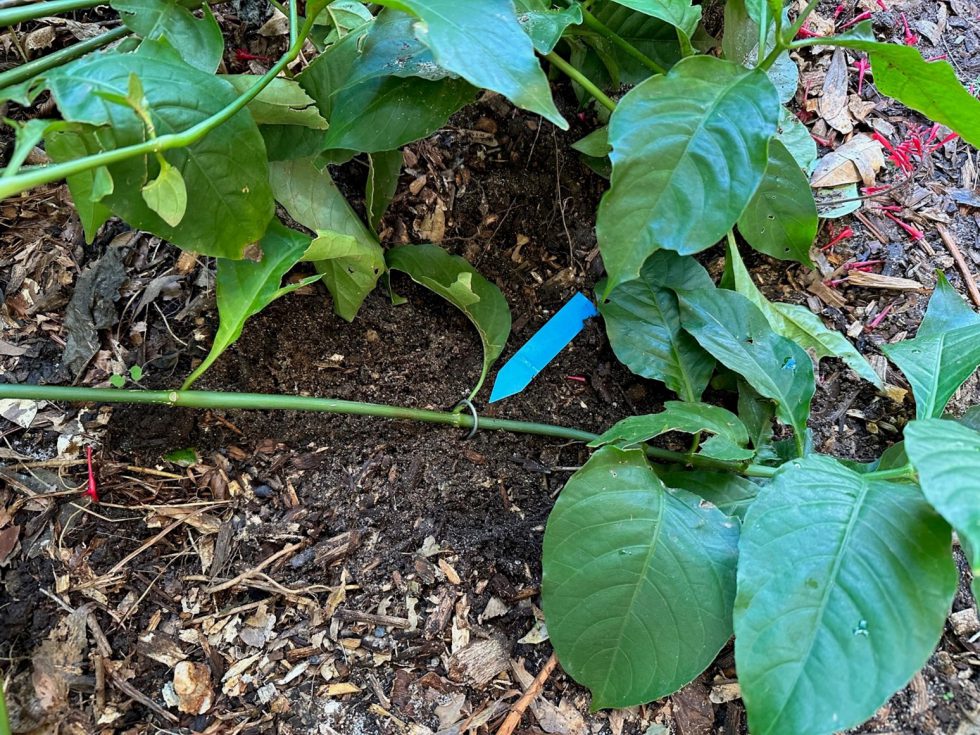
Layering
If you only need a few plants, layering is a good option. This method requires pulling a branch into the ground, allowing new roots to grow where the stem is buried. There are different methods for layering, so here’s a breakdown of each one. Note: Only certain shrubs can be layered, and the best time to layer plants is from mid-spring to mid-summer.
Simple Layering
As the name suggests, this method is the simplest and easiest way to layer plants in the garden. To get started, you’ll need shrubs with flexible stems that can bend. Some examples are forsythia, climbing roses, rhododendron, and honeysuckle.
These steps can help you with simple layering.
- First, take a branch with healthy new growth and bend it into the soil.
- Allow the branch tip to stick out of the soil and make sure a node is covered with soil where the stem is buried (the soil should be 2-4″ deep). It’s beneficial to cut a wound where the stem is bent underground, about 12” from the tip of the branch. The wound should be 2″ long and slanted.
- Once the wound is made, a root stimulator can be applied to the cut. Remove any leaves that are buried.
- Use a landscape pin to hold the buried stem in place.
- Depending on the species, new roots should form in 6-12 weeks. Once the stem is firmly rooted, you can separate the new plant from the main plant.
Compound Layering
This method is most effective if you’re growing vines, like clematis or wisteria. Since the stems are extra-long, you can bury several sections in the soil and have multiple new plants. As with simple layering, each buried section should have a wound at the curve where the stem is buried.
Tip Layering
Use this method for raspberries and blackberries. While it’s similar to simple layering, there is one difference. The stem tip should be buried, about 3-4″ deep in the soil. As new roots form, the stem will send out a shoot that will emerge from the soil.
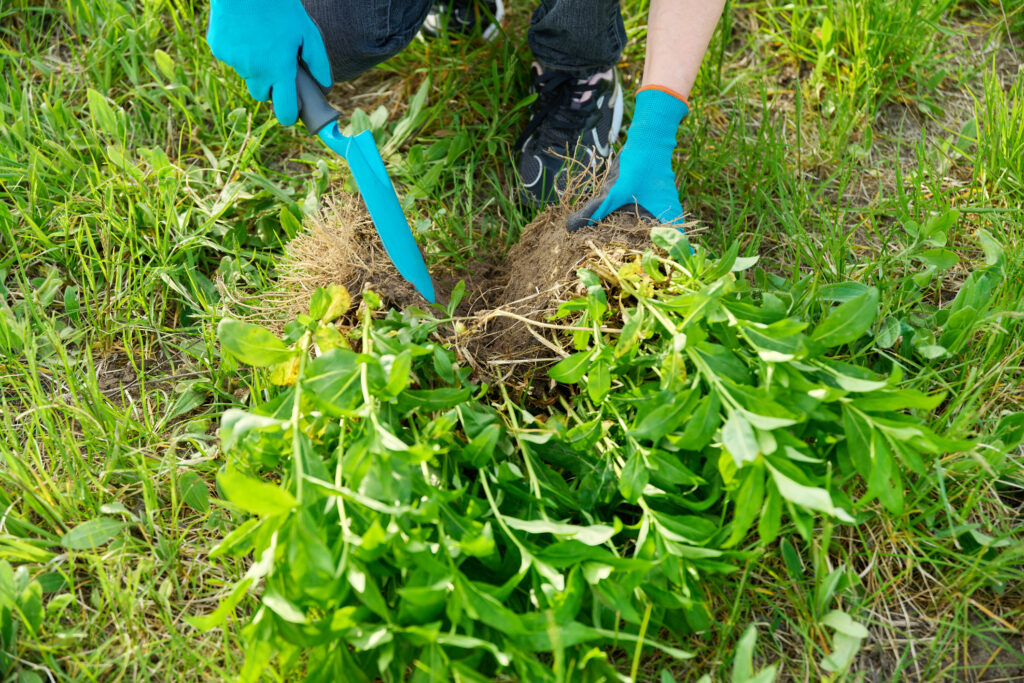
Division
This is my favorite method to propagate plants because it creates new plants quickly. In most cases, division is used for herbaceous perennials, like daylilies, iris, and echinacea. Many of these plants have a large crown at the base, which can be cut into many pieces and replanted.
Most perennials should be divided in spring or late summer/fall when the temperatures are cool and the plants are less active. If a plant blooms in late spring/early summer, it’s best to wait until late summer or fall to divide. Likewise, a later-blooming plant should be divided earlier in the season. In addition, woody plants that sucker can also be divided, like Incrediball hydrangea, red-twig dogwood, and spirea.
Division only requires a few steps, which are below.
- Dig up the main plant and slice the crown into multiple pieces with a spade or soil knife. You can choose how many divisions to make but remember that more divisions equal smaller plants.
- As perennials become older, you may notice the center of the crown dying out. If that’s the case, remove the dead portion when you divide the plant.
- Replant the divisions and water them.
Other Reading Recommendations

- Selecting Shrubs for Colorful Foliage
- Hydrangeas: Pruning For Blooms
- An Easy Guide For Planting Trees & Shrubs
- 5 Beginner-Friendly Tips for Planting Bearded Irises

At Jung Seed Co, we strive to be your go-to guide for all your gardening needs. Our YouTube channel The Garden Doctor by Dick Zondag is where he provides gardening tips for all levels of gardeners. When you need reliable gardening advice, turn to the trusted experts at Jung.
View our new catalog online or browse our website for your gardening favorites. To receive info on new products, exclusive deals, and specials, be sure to sign up for our weekly email. Join our Facebook page, to discuss all things gardening!
About the Author: Matthew Olson is a professional horticulturist and garden writer. He has a bachelor’s degree in horticulture from UW-River Falls and is a certified professional with the Minnesota Nursery and Landscape Association. His enthusiasm for plants and the outdoors brought him to the green industry. He regularly writes articles about gardening for both gardeners and industry professionals. He can be reached at matt@mattolsonhorticulture.com.