
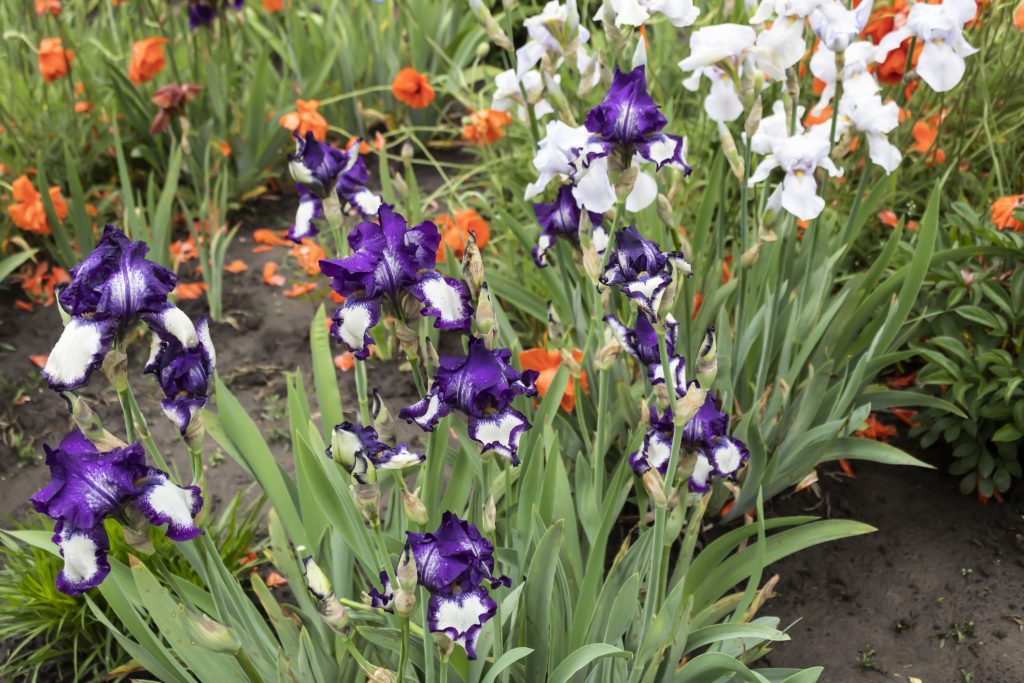
Irises are popular, easy-to-grow “old-fashioned” perennials. They are attractive plants for beds and borders but also make lovely cut flowers. Irises attract pollinators such as butterflies and hummingbirds. Learn more about growing and caring for your iris flowers.
Types of Irises
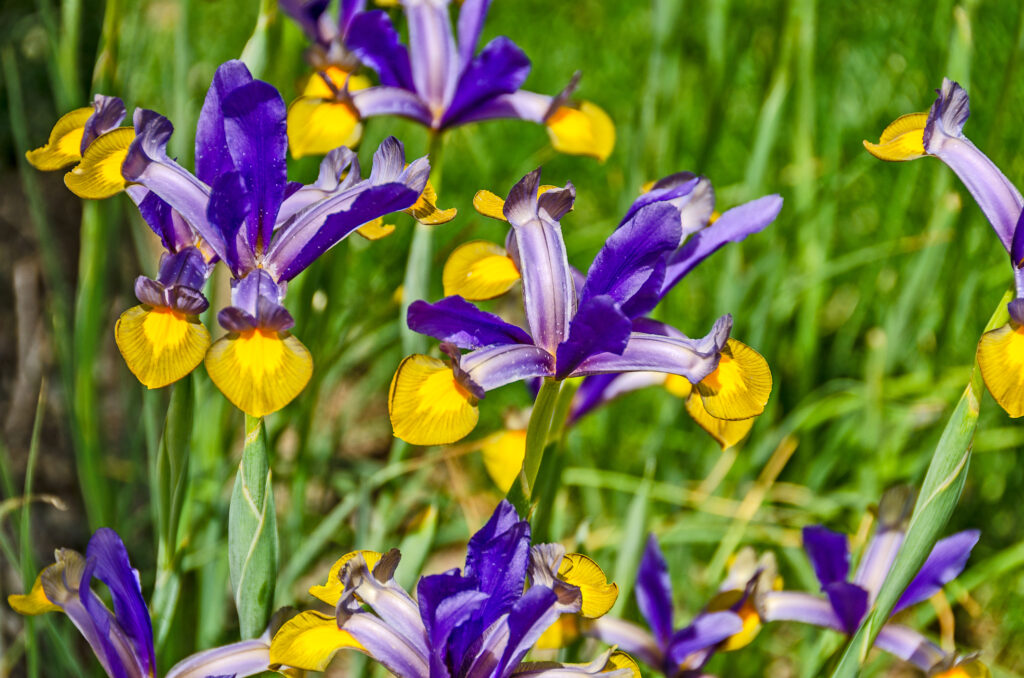
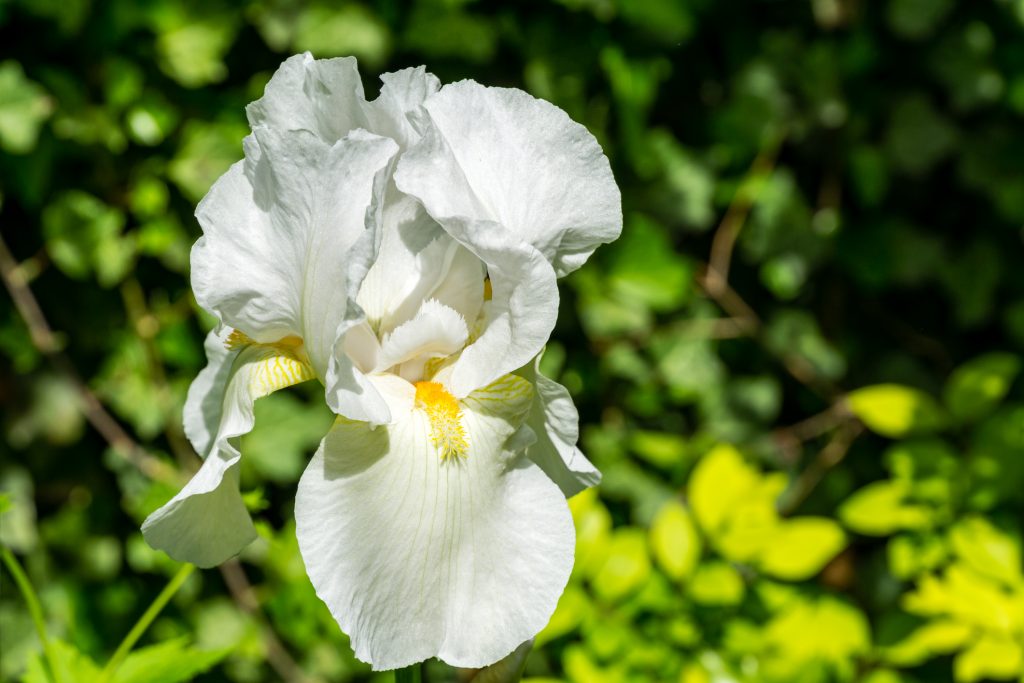
There are a number of different types of Iris with a dizzying range of colors, flower forms, and heights. The most familiar type is the bearded iris. Depending on the type of Iris, they grow from either a rhizome or bulb. Dutch Irises are considered bulbous types.
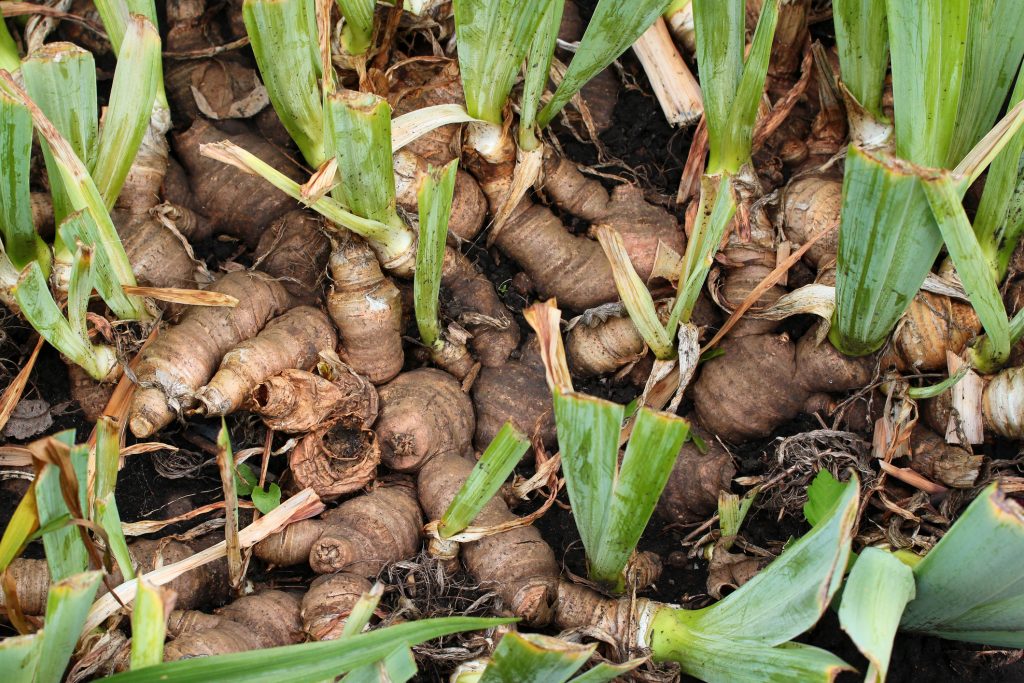
Rhizome Irises
The stems of the rhizome iris grow horizontally just beneath the surface of the soil.
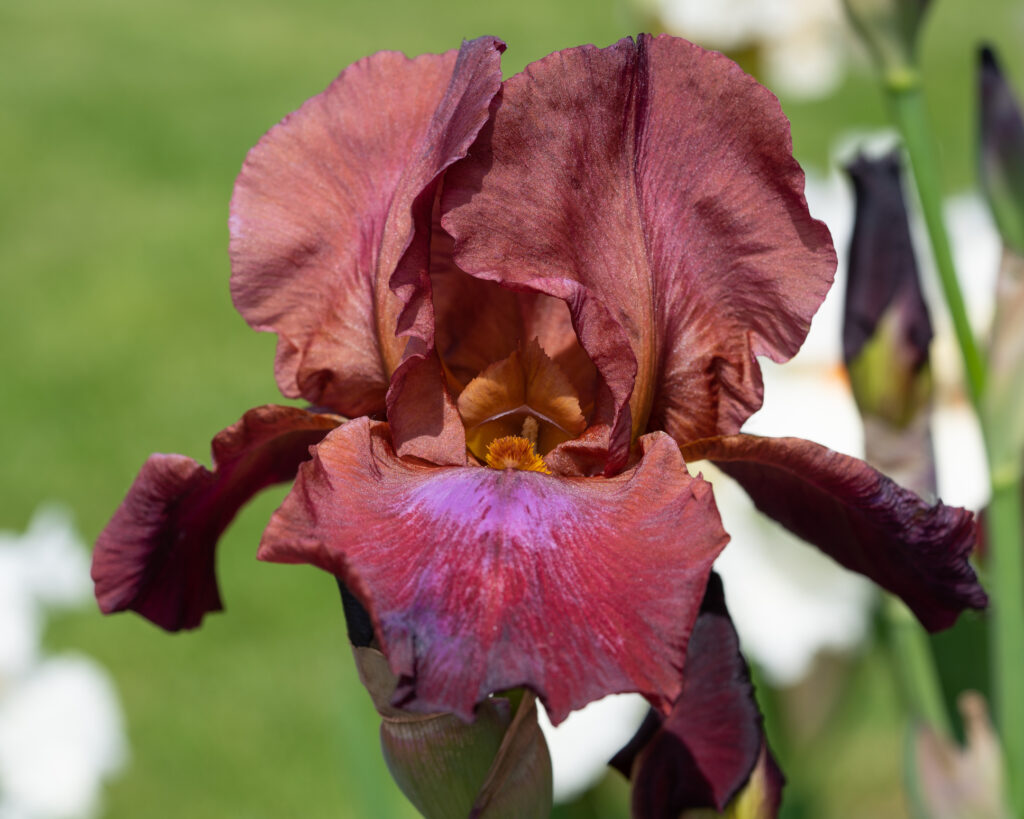
- Bearded – spring to summer bloomers
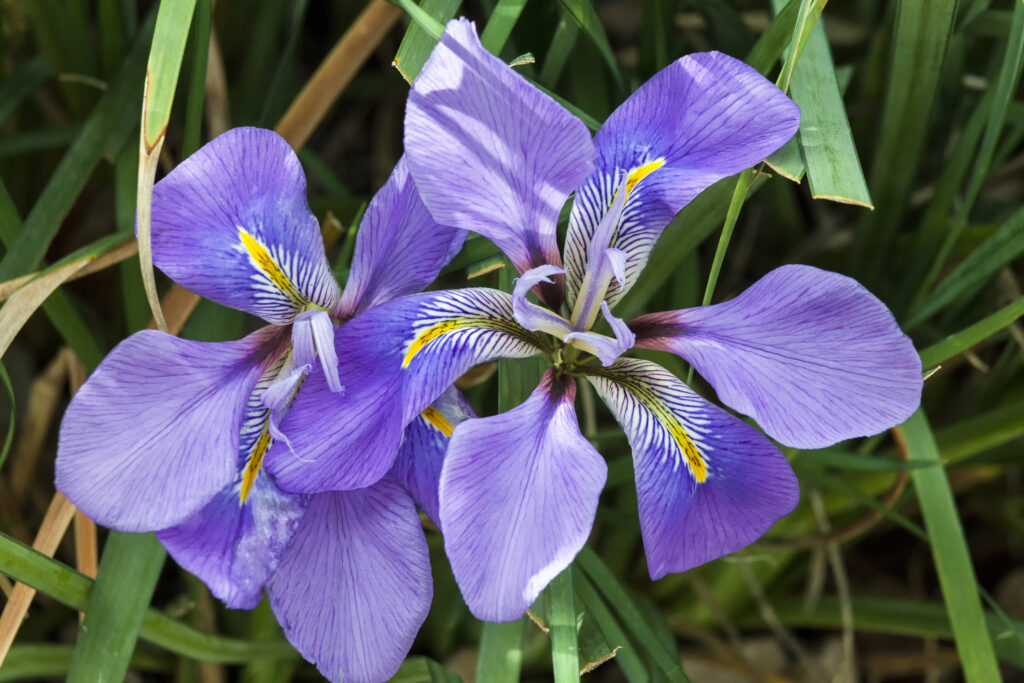
- Beardless – late-spring to mid-summer bloomers
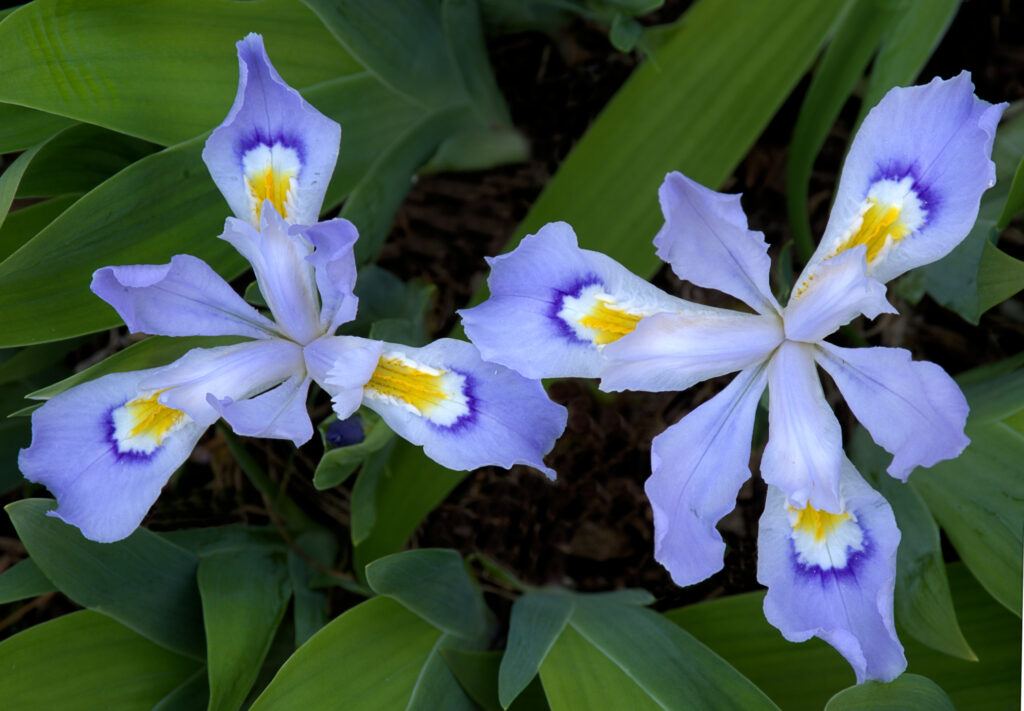
- Crested – early to late-spring
Bulbous Irises
The bulbous iris is round or pear-shaped and grows underground.
- Dutch – mid-summer bloomers
- Reticulata – early spring bloomers
What Zones Can Grow Irises?
Irises are hardy in zones 3 through 9. However, Dutch types are only hardy to zone 6 and are often grown as annuals in cold climates.
When To Plant Iris Bulbs
Plant your irises in late July through August so the semi-dormant rhizomes have a chance to root down and establish before winter.
How To Grow Iris
Light
Iris are easy-to-grow, low-maintenance plants that enjoy full sun. However, Dutch Iris, Iris pallida, Iris versicolor, Louisiana types, and some Siberian Iris can be grown in part shade. Our friends in more southerly gardens will find that many Irises will benefit from some late afternoon shade.
Depth
Planting Irises at the right depth is important. The hole should be about 3 to 4 inches deep. If planted too deep, the center of the fleshy rhizome may rot, especially if the soil is heavy and not well-draining. When planting, dig a hole large enough to spread the roots. It is always better to manipulate the planting hole to accommodate the amount and length of roots that the Iris tuber has. The hole should only be deep enough so that the top of the rhizome is covered with an inch or less of soil.

Soil
All iris prefer fertile, well-drained soil. Iris ensata, Louisiana types, and Iris versicolor will tolerate wet soil and can be grown around ponds or in rain gardens. Leaves of bulbing types die back in summer after blooming and prefer dry summer conditions for best performance. They can be planted in containers or in raised beds to improve drainage. Most types of rhizomatous Iris prefer consistently moist soils. If you have poorly drained clay-like soil, incorporate a good amount of sand and organic matter into the soil. Making a raised bed will also help with drainage.
Fertilizer
Mixing a well-balanced fertilizer with the soil when planting will get them off to a good start. After planting, additional fertilization isn’t needed. If the iris is growing well, give them an annual top dressing in early spring each year.
Fertilizer Recommendations
Use full rates of Algoplus 4-6-7 Flowering Plant Liquid Fertilizer, Neptune’s Harvest Fish & Seaweed Fertilizer 2-3-1, or Coop Poop™ Garden Food 2-4-3.

Watering
Watering is most necessary to get the iris started. Their root system is capable of storing water once established. Like any other flowering plant, Irises will appreciate sufficient water during the growing season, especially to bloom well. It takes a lot of energy for them to bloom, most of which is stored within their tubers, but a simple watering can make the difference between a mediocre flower display and a spectacular one.
Winter Mulching
In northern and mid-western states, we often experience freezing and thawing that can cause fall-planted perennials to heave out of the ground which results in death when their roots are exposed to the elements. Therefore, for the first year after planting, we recommend applying a winter mulch as an insurance policy to protect against this. The mulch should be clean straw or marsh hay, applied 6 to 8 inches deep. Apply the mulch only after the ground is frozen. Once established, mulching is not necessary for future years.

Dividing
Every 3 or 5 years iris plants should be divided to maintain their vigor and blooming capacity. The best time to divide them is 3 to 4 weeks after flowering. Divide the clump with a sharp shovel, removing half to two-thirds of the clump. The cut surface should be left exposed to the air for about a week, to be allowed to cure and scab over. After that, you may recover the cut surface with soil. If your Iris has had fungal problems in the past, sprinkling the cut and exposed surfaces with a powdered sulfur product is simple and helpful protection. After dividing, fertilize the plant with a well-balanced fertilizer. The portion that was removed can be divided by separating central rhizomes with a couple of fans on each. Cut the leaves back to half their length and replant. Dividing times are when you want to share your love of Irises with any friends, neighbors, and family, giving away the pieces you have removed and prepared.
Pest Problems
Iris plants have few problems, but the iris borer is their worst enemy. The adult female moth lays her eggs at the base of the leaf blades where they overwinter, then hatch in late spring and begin eating their way up the leaf blades. This is about the only time you can easily control this insect as it then reverses and bores into the central rhizome. Once in the rhizome, they are not easily controlled and infected portions must be cut out. Be aware that feeding larvae can cause serious bacterial rot issues within the tubers that may linger season after season if not dealt with appropriately.
Symptoms & Diagnosis
Damage is typified by dark streaks, water-soaked areas, and ragged edges on young leaves in May and June, caused by the feeding of the young larvae. As the larvae feed, they move down into the rhizome where they continue feeding. Soft rot can set in, causing leaves to yellow and fall over and rhizomes may become soft and foul-smelling. Cutting open the rhizome will reveal the borer, a 1- to 2-inch fat-bodied, pink larva with a brown head.
Iris Borer Management Strategy
SANITATION. The main key to iris borer prevention is the removal and destruction of the previous year’s dead foliage. In the Midwest, this should be done before April 1st. This sanitation practice will reduce the problem by destroying overwintering eggs in that leaf residue. Burn, bury, or throw all foliage removed into the trash.
INSPECT BED. If signs of the borer are apparent, dig the rhizomes after blooming is completed. Inspect them carefully, cut out damaged ones, and replant them. During the spring, inspect the leaves for signs of borer grub chewing and pinch down the leaves to kill any grubs that may be inside.
PRECAUTION. As mentioned, insecticides containing spinosad or permethrin sprayed on and around the base of plants in the spring may help in destroying the newly hatched larvae before they have a chance to enter the leaves.
INSECTICIDES. An effective pesticide application must be well-timed. A pesticide product with the active ingredient Spinosad, like Capt’n Jack’s Deadbug Brew® is best.
- It is important to apply the pesticide when eggs are just hatching. Typically, the leaves will be about 4 to 6 inches in length when this happens.
- A repeat treatment about 10-14 days after the first application may be needed. Always follow label directions and read the entire label before using it.
Troubleshooting Iris Problems
Irises are like many other blooming perennials, if something about their environment is not quite right, they will not bloom or will stop blooming. What to consider and change if your irises are not blooming –
- Are they in full sun (at least 6 hours)? Are there trees or large shrubs that have grown since the iris bed was first installed that are now casting more shade on the bed? Moving the bed may be necessary.
- Are the iris tubers or bulbs planted too deep? The top of the bearded iris rhizomes should be exposed to the air for optimum blooming.
- Does the iris plant or bed get sufficient water? Many Iris spp. Are drought-tolerant but when plants become water-stressed they will not bloom well or at all.
- What type of fertilizer has been used? Fertilizers with high percentages of nitrogen will produce lush, healthy foliage but little to no blooms. Read the product label to find the N-P-K formulation and choose a food that has lower nitrogen and higher phosphorus.
- If Irises have grown well and bloomed well for years but cease to bloom seemingly overnight, they have most likely become over-crowded and the patch needs to be divided. See notes and directions under the Dividing heading.
Jung Seed has an amazing selection of Iris varieties. You can find every color under the rainbow and many striking combinations – solid colors, bi-colors, and blends, many splashed, striped, picotee, and all with exquisitely laced and ruffled petals. Choosing the bloom color is the fun and exciting part, but choosing the right variety for the right garden location is the most critical decision for long-term success with Irises.
Other Recommended Reading

- How To Prevent & Control Weeds
- Creating Firework-Inspired Floral Displays
- New 2023 Summer/Fall Garden Catalog Review
- Garden Trends: Color of the Year 2023
- 8 Useful Tools For Your Garden
At Jung Seed Co, we strive to be your go-to guide for all your gardening needs. Our YouTube channel The Garden Doctor by Dick Zondag is where he provides gardening tips for all levels of gardeners. When you need reliable gardening advice, turn to the trusted experts at Jung.
If you are in the Wisconsin area, please visit us at one of our Jung Garden Center locations for all your gardening needs. Otherwise, you can browse our website. To receive info on new products, exclusive deals, and specials, be sure to sign up for our weekly email. Join our Facebook page, to discuss all things gardening!